While experimenting with a 128×32 OLED as a voltage meter, it becomes apparent that the display and its associated Arduino SBC provide a pretty good way to set them together on a printed circuit board as a fixed platform for added development. In addition to a pair of 18650 batteries (2S1P), a 5VDC and 3.3VDC regulator are together fed by a range of 8.4VDC to 6VDC (fully discharged). So the Arduino and its display in this project are set to a permanent display on a printed circuit board with a power switch and separate breakout connections.
The point of the build is to set up a module that supports repeatable attachments such as sensors, or micro-slot modules developed separately. Without having to disassemble or configure system components, its power supply, regulators, display, interface terminals, and breadboard connections, all remain the same. This is to facilitate the placement and programming of the same hardware across various projects without much concern for what attachments are made (or declared and configured in code).
While setting up the breadboard to test viability, it became apparent that the supply voltage at the Arduino had to be regulated. Due to a range of possible loading conditions, the supply voltage could sag or drop to adversely affect performance or minimum operating conditions.
Test & Validation:
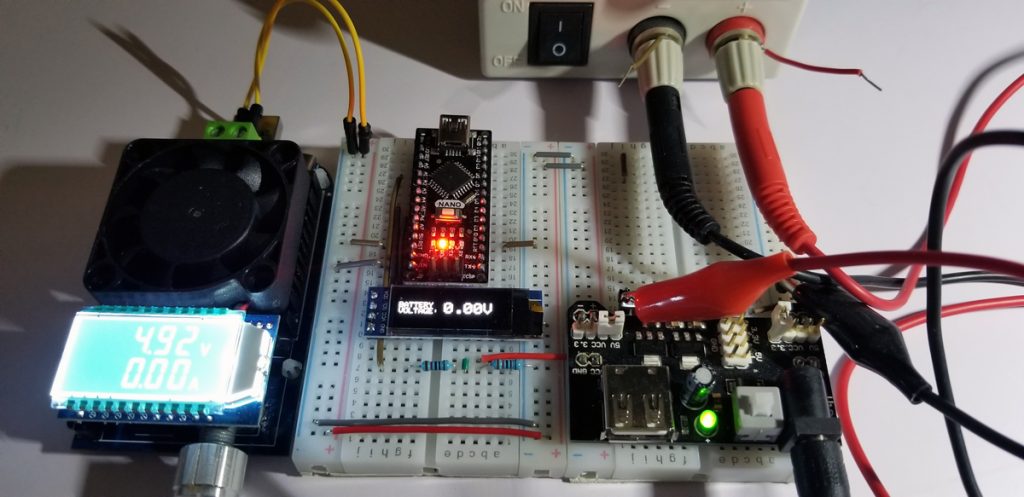
In this video, the supply voltage is from an outside wall adapter (measured at about 4.92VDC unregulated). The voltage measurement on the 128×32 OLED is the two battery scenarios (2x AAA and 1x 18650). The instrument measurements are simply to confirm the Arduino measurements presented at the OLED. The code within the Arduino Nano module had to specify a 4.92VDC reference to get an accurate target reading. So it became apparent just in this experiment, the source voltage was necessary to regulate to assure a steady reference.
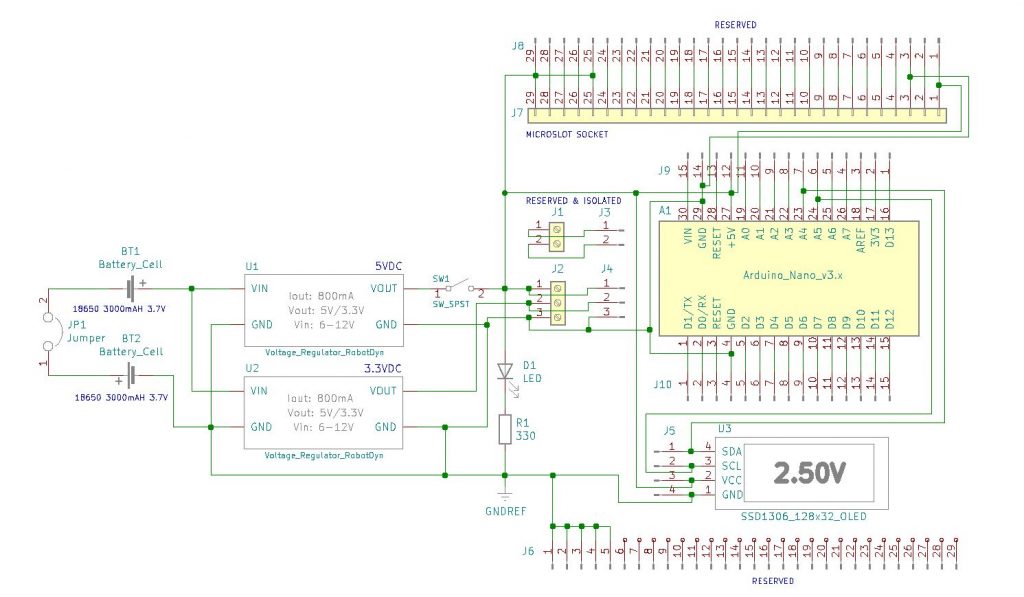
Project Schematic:
Common connections frequently repeated among project various projects include a power supply, regulator(s), a display, and connections such as terminal blocks or pin headers. All elements set together provide an efficient way to develop separate system attachments to limit efforts around new hardware or overall code development.
Project Build:
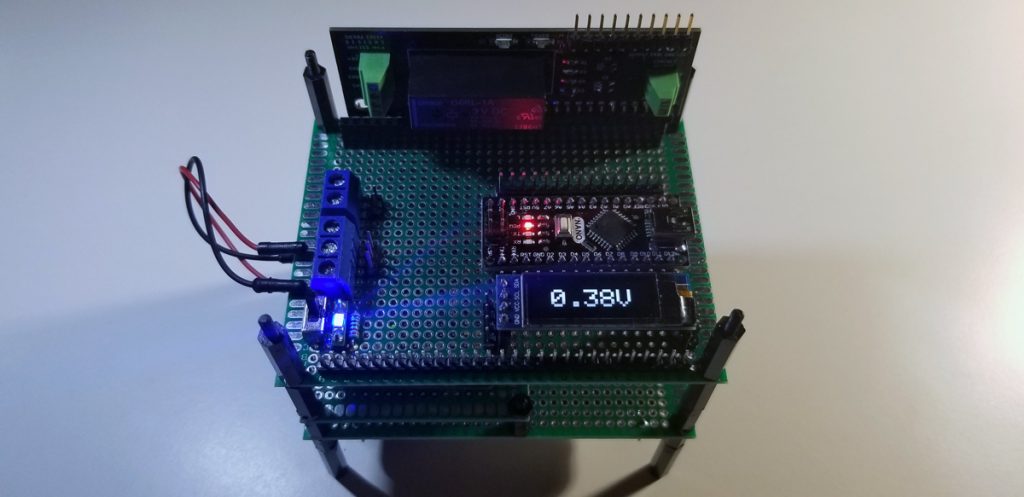
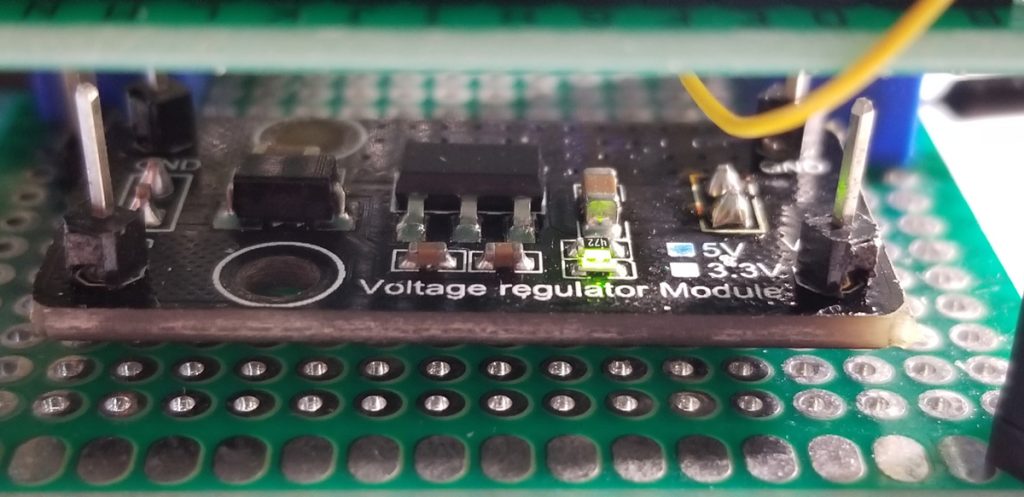
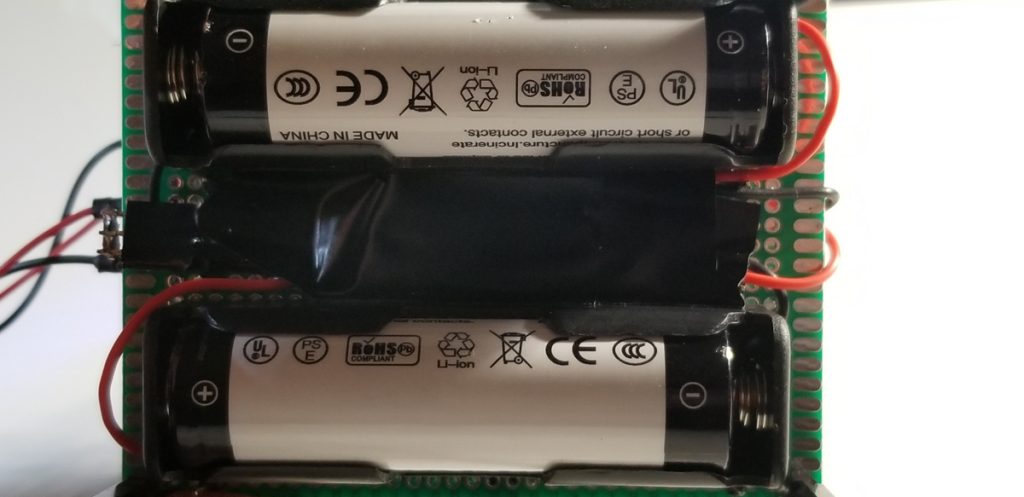
The module is a stacked arrangement of PCBs to allow for the separation of system types by function. The lowest tier hosts two 18650 batteries with a daughterboard with mounted voltage regulators. The batteries attach to the inputs of these regulators as they, in turn, supply the stable voltage supply for the top-tier PCB. The top tier PCB is where the primary functions are for added attachments and interfaces concerning development supported by this system.
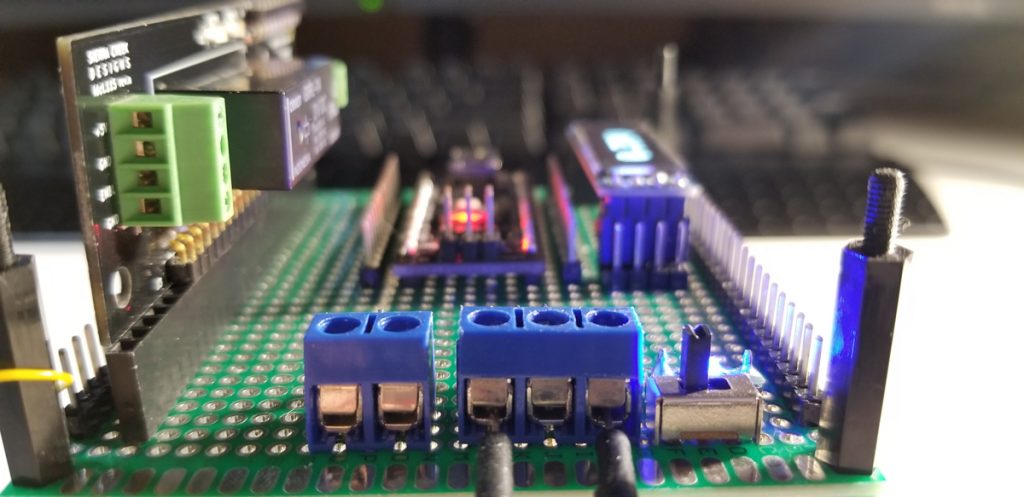
With reserved space and pins for added development, two separate terminal blocks are assigned to 5VDC, 3.3VDC, and a completely isolated variable voltage port for higher-current and more sensitive applications. The display is physically reversible and detachable for reuse elsewhere. As the microslot module is socketed for plug-and-go purposes. New projects that become developed in microslot format are rendered compatible by fit and function in this way.
The sockets, terminal blocks, pin headers, and PCB grid provide redundant and variable connectivity options required for suitable flexibility. On the underside of this PCB are the hardwired jumper wires secured and soldered in place.
One regular module for 5V and the other for 3.3V bucks the supply voltage down to the required minimum voltage to the top tier just above it. These are permanently wired to the batteries below.
The two batteries underneath the regulator modules are wired in series to deliver a maximum of 8.4VDC (fully charged). They are easily removable for recharge, and the jumper shunt block is detachable to remove power from the entire system.


Comments are closed.