Tag Archives | photography

Bad Bokeh

While trying out the NIK Collection, I came upon many image processing capabilities that are pretty useful. These are a few highlighted screenshots of a small creek in Yosemite. They are totally new to me, so it will take some time to get familiar with them to put them to better use. So from among the many functions and capabilities, this is an example of a Bokeh effect without using a Bokeh lens, per se. While this is a bad Bokeh image, it’s to give an idea about what these filters and processors are.

Experimenting with Google's NIK Collection

Experimenting with Google’s NIK Collection

Google NIK Module

Google NIK Module

Google NIK Collection

Visual Bearing

After a few more lessons about processing images for better resolution, expression, and range, I’ve further experimented with large photos in both raw and jpg to see what would happen. Under different lighting conditions and color depths. With a few images, some of the adjustments were over-pronounced and edited, but the exercise was largely about seeing what the tools would do along with their visual effect.

In this image of Yosemite Valley, the subtle changes made were around light intensity, shadows, highlights, and exposure. Nothing added or removed from the original composition.

Most of all, a key principle I’ve learned is about where a scene begins. What meaning and intent is meant or said at the outset in a visual way. From there, the creative process extends to a crafted image that leads a viewer wanting to be there or wanting more.


Light Lessons

Tenaya Lake Tributary

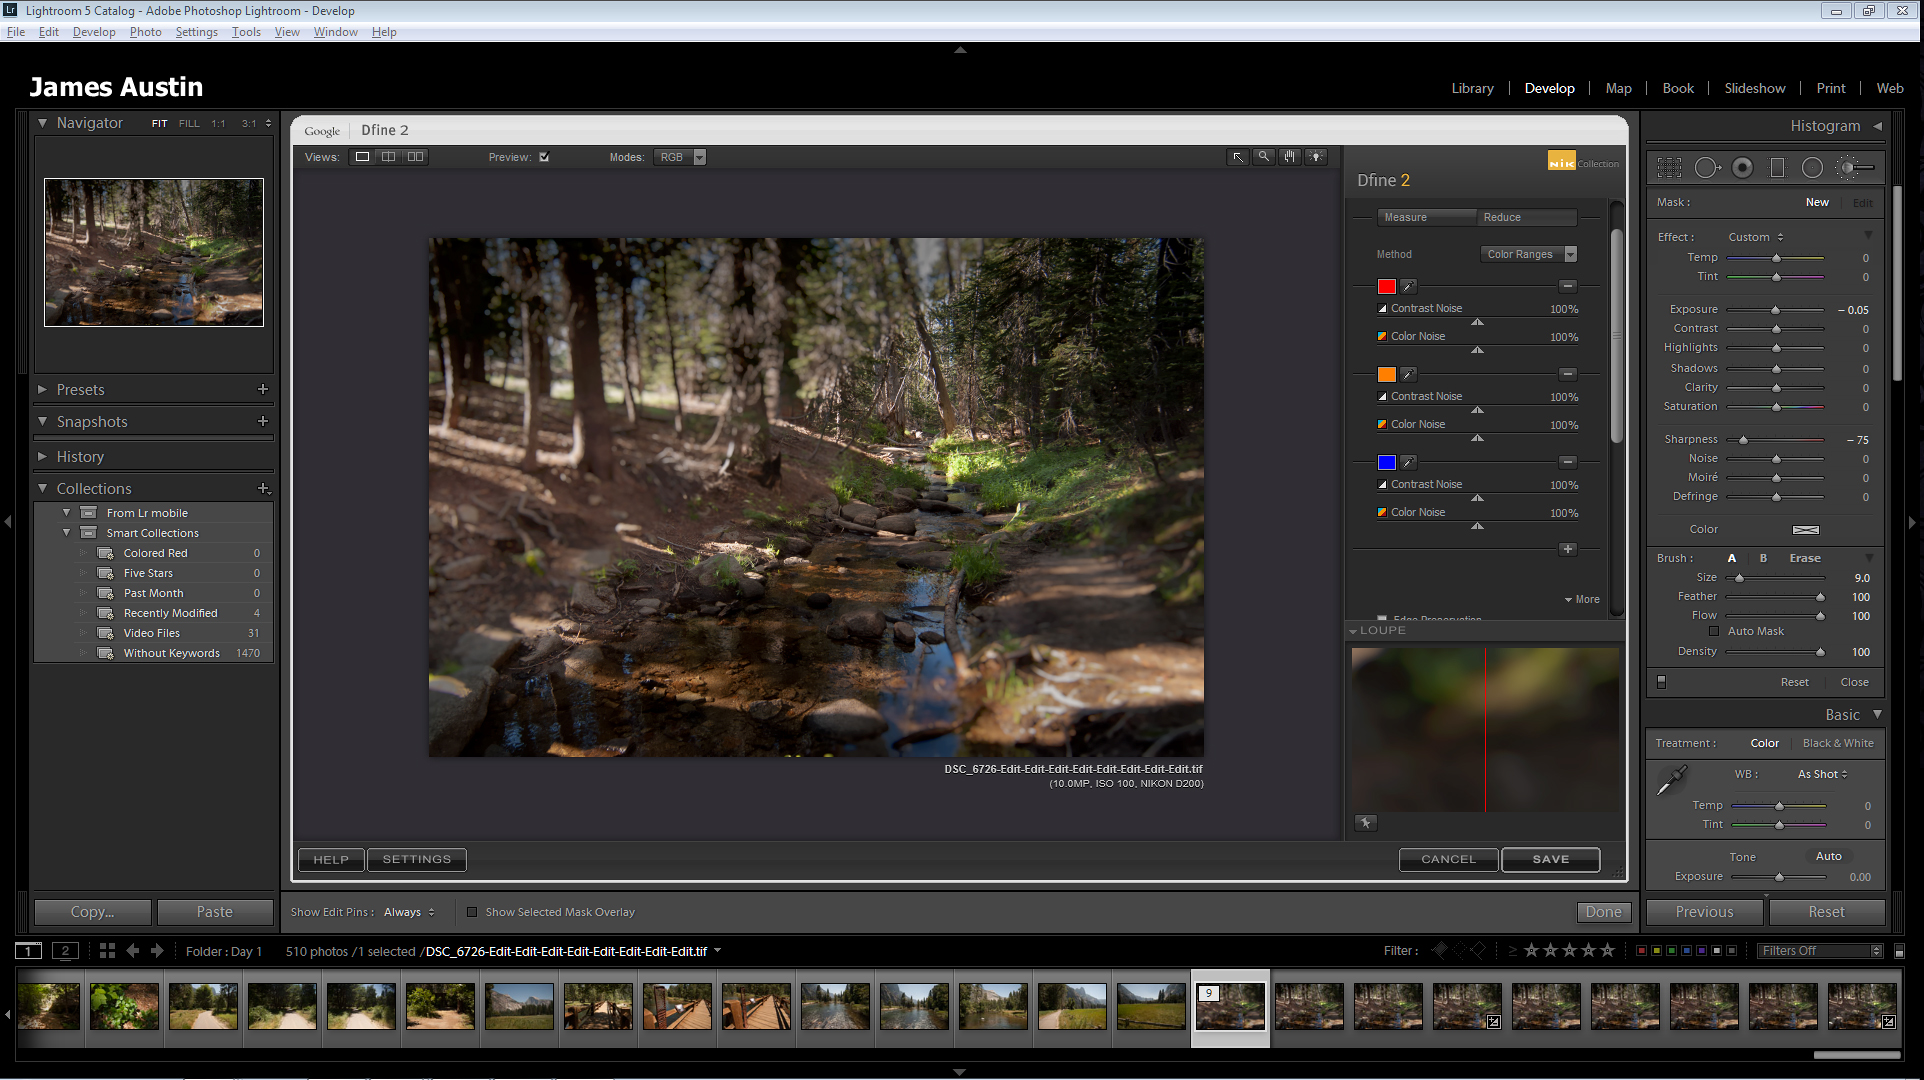
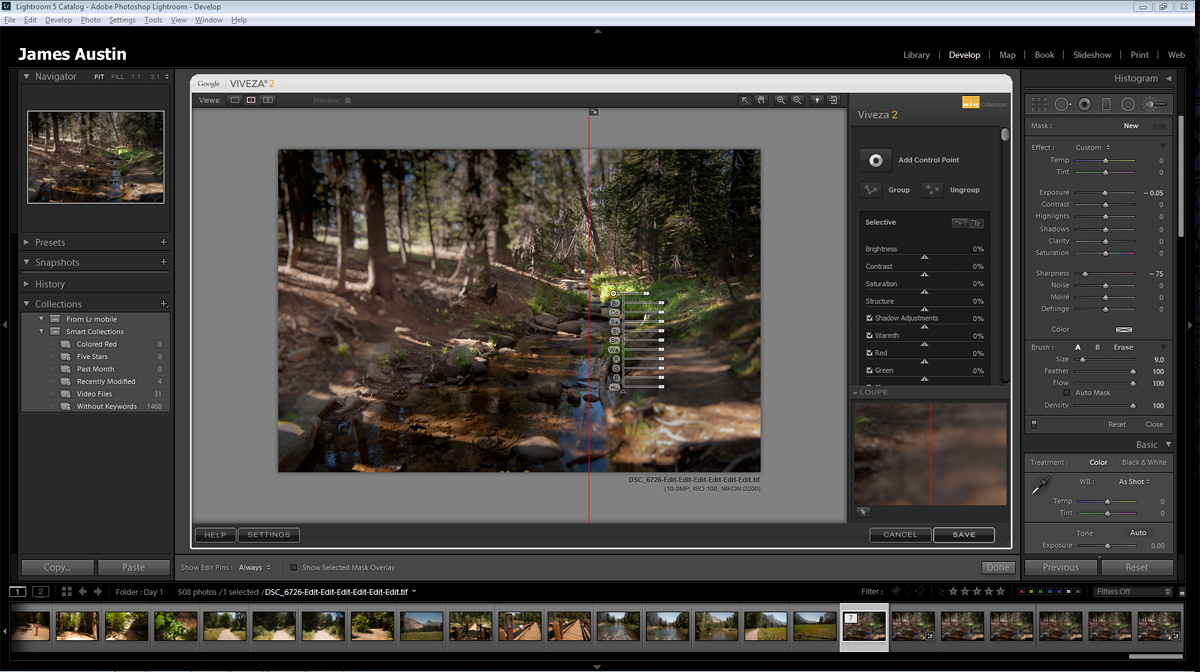
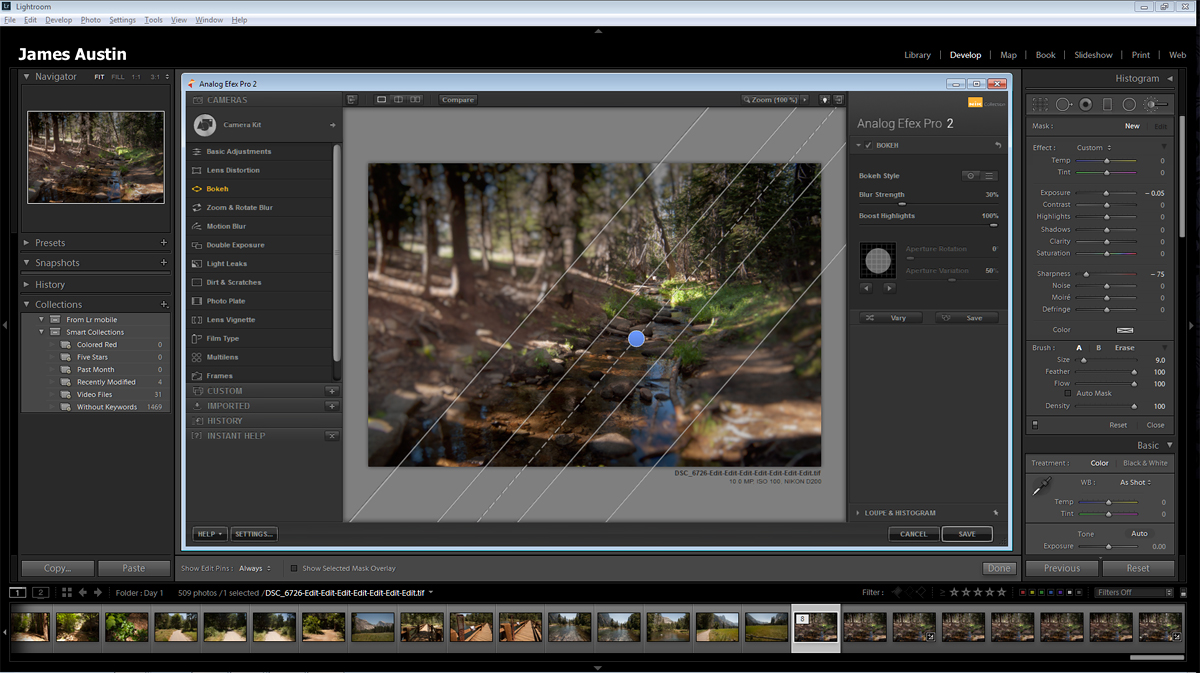
Having spent some time on Phlearn photography lessons today, I set out to develop a better idea about what it is to go too far with image processing. Where all photos get taken in RAW format but become processed by various tools and utilities in Photoshop CC. There are limits to understanding what actions get taken to meet specific objectives. Much of it about a cleanup, composition corrections, or slight adjustments in color, sharpness, and exposure.

Not for creativity or enhancement to make an image something it wasn’t. That has its place and I really want to start something there with random objects among images capture. More abstracts, people, and structures. More about light. More about the weather, mood, and atmosphere.

More spontaneity with images by everyday happenstance.

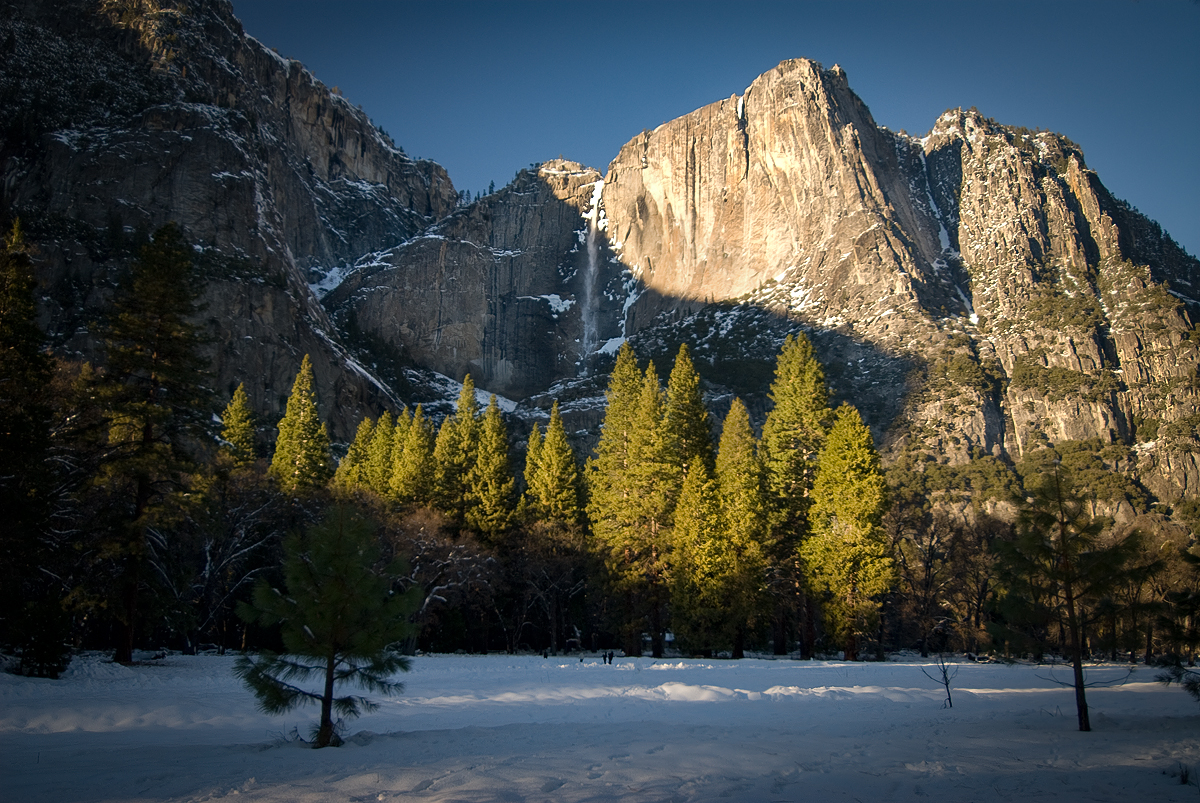
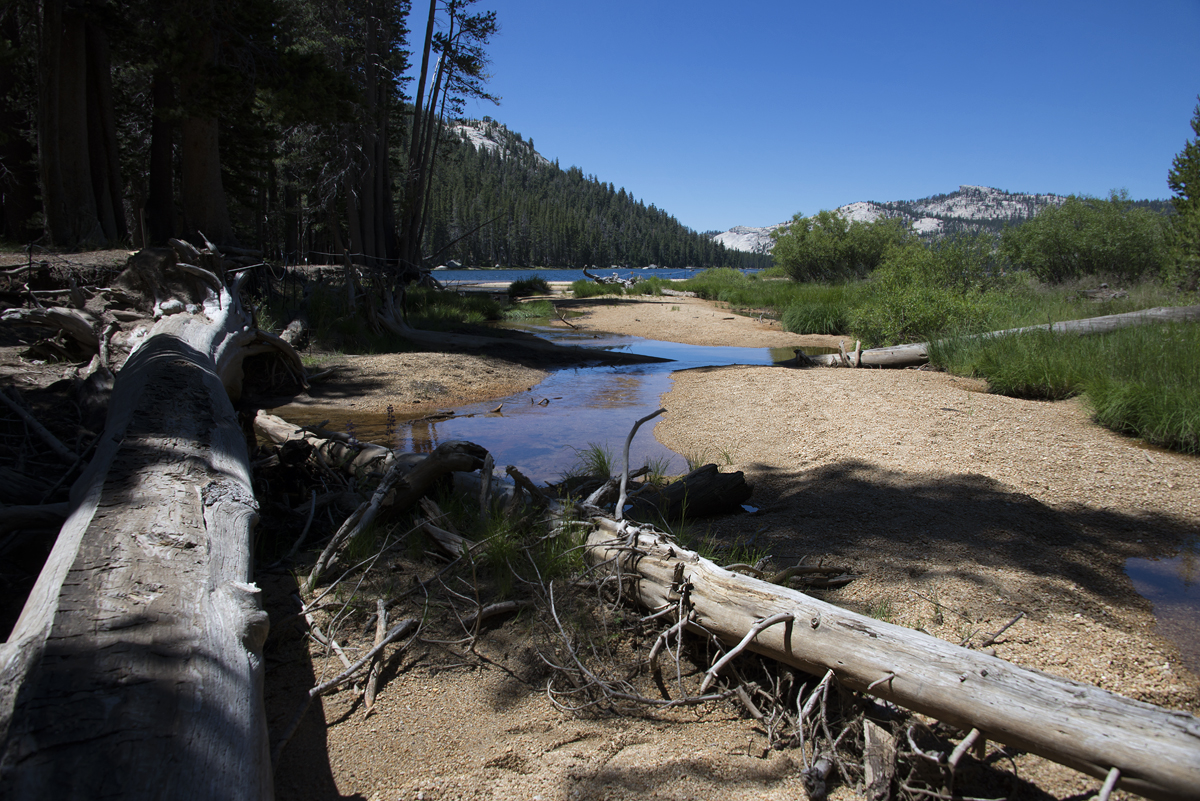
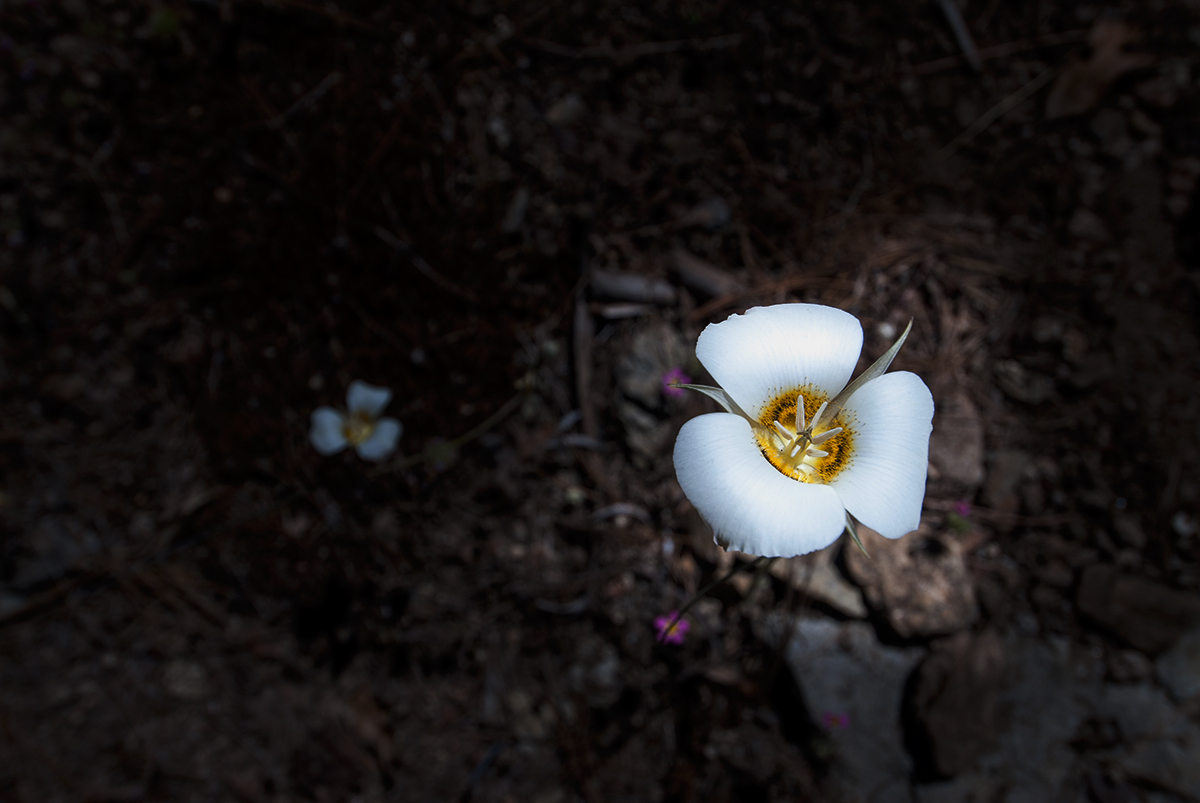
This is an image I spent time on to apply new principles learned. There are several before and after images compared. There are still issues with the image, but I’m not yet at a point where I can tell if those issues are normal. I believe there are issues I’m seeing with metering and there isn’t enough experimentation with program modes.


Spin & Balance

Yosemite Stream

Today’s time was spent on blending practice. Several different images where some came out very hideous. This one was a final practice image for the day. Some photos I took quite some while ago.

Combined the same image across numerous layers to get an adjusted image with lens correction. Interwoven between two images a soft-light algorithm was applied with 50% opacity. Selective erasure and sharpening by an entirely different methodology. What you’re seeing are actually two copies of the same image combined and re-sampled together.

The depth of learning continues to better automate workflow through Actions. At least for photos that come together in quantity for outings. The manual process will stay indefinitely and with greater attention simply to get more from the creativity that follows. There is so much more to learn and practice.


Cast of Light

This image is from a recent solo outing several miles out. The path along the way was lined with Sequoias on each side for quite the distance. The whole experience was memorable and deeply rewarding.

This image was processed with selective and brush specific sharpening. There were also whites and blacks stripped out with nonlinear exposure and light curves applied to get a better balance. Both vibrancy and saturation were increased ever so slightly. No more global editing for sharpness, brightness, shadow, or highlights. Those days are now long gone.

PathofGiants

Enlightened

Picked up many new capabilities given significant advancements that have happened with process tools. Among the various new techniques taught and demonstrated, I’ve learned that selective and non-destructive editing of RAW images within Lightroom provides for a much more interesting experience. Where brushes and value selections among object layers give back a completely different way of showing an image. To get it to say something more or different than what came right from the camera.

Here is a random photo I took of two Mariposa Lilies. One prominent and one smaller, but kept back at a darker exposure. The image above processed to accentuate the difference between the two in an effort to communicate meaning. There were other overall curves and pixel density adjustments that were made as well.

The original RAW image shown below is directly out of the camera (converted to JPG). Time and practice will bring better results.

Mariposa Lilly
Raw Unprocessed Mariposa Lilly Image
Mariposa Lilly
Processed Mariposa Lilly Image